In Custom Print Report, users can upload their own designed templates in addition to using the default ones. Sometimes, manual adjustments to the templates are needed before uploading. The following outlines considerations for designing and adjusting templates manually.
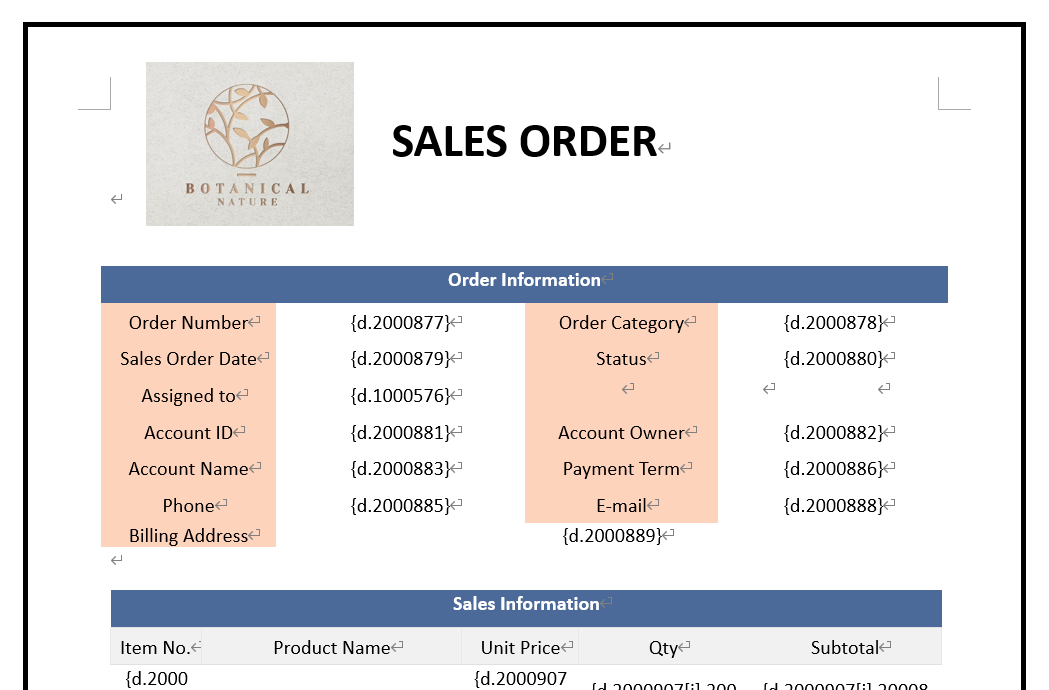
Currently, only docx templates are supported. It is recommended to start by downloading the default template from the Custom Print Report settings page before making manual adjustments. You can then modify the table's background color, borders, positions, and add titles, text, or images as needed. Be aware of the different syntax for independent fields and subtable fields when adding or removing fields.
Note: When adjusting the position of Subtables, avoid placing different Subtables in the same row to prevent printing issues.
1. Single-Select Image Upload
If the single-select Image Upload field do not output correctly, you can download the default template again. If re-downloading the default template is inconvenient due to using a custom-designed template, refer to the following methods:
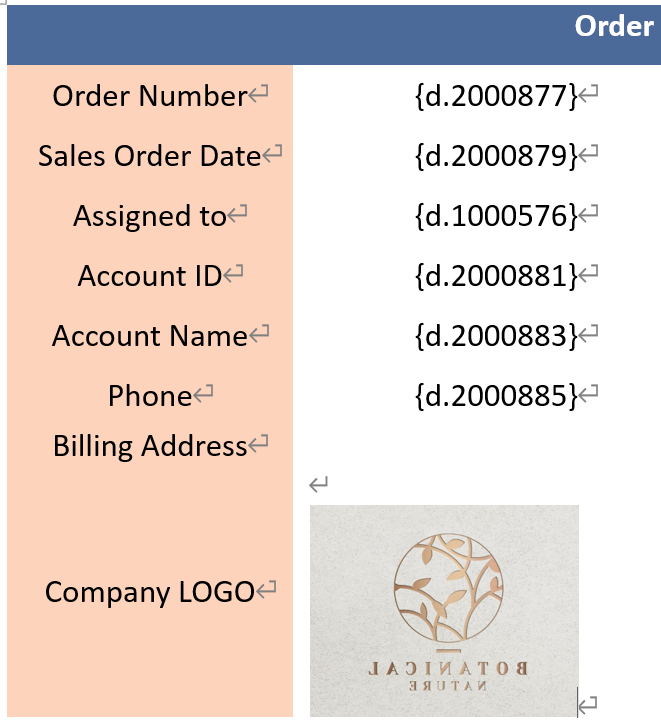
Since Image Upload fields are output as images, you cannot directly reference the fields in a template by entering {d.field_id}. The correct approach is as follows:
Method 1: Using Field Parameters from the Default Template
1. Go to the custom print report setup page and download the latest default template.
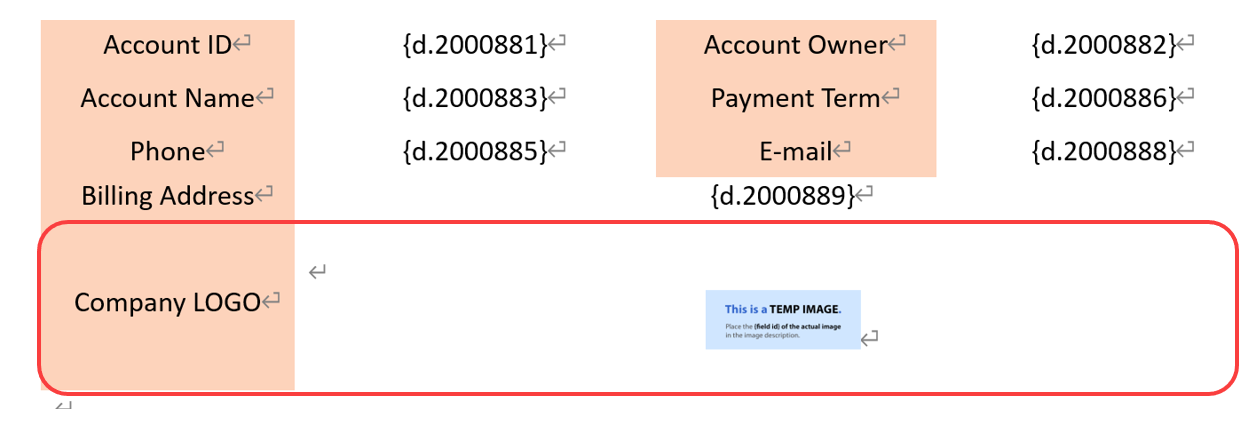
2. Copy the corresponding Image Upload field from the default template (the field will display an image with the text "This is a TEMP IMAGE"; make sure to copy the entire column).
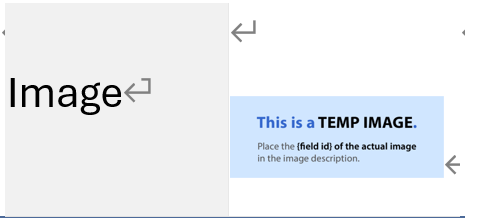
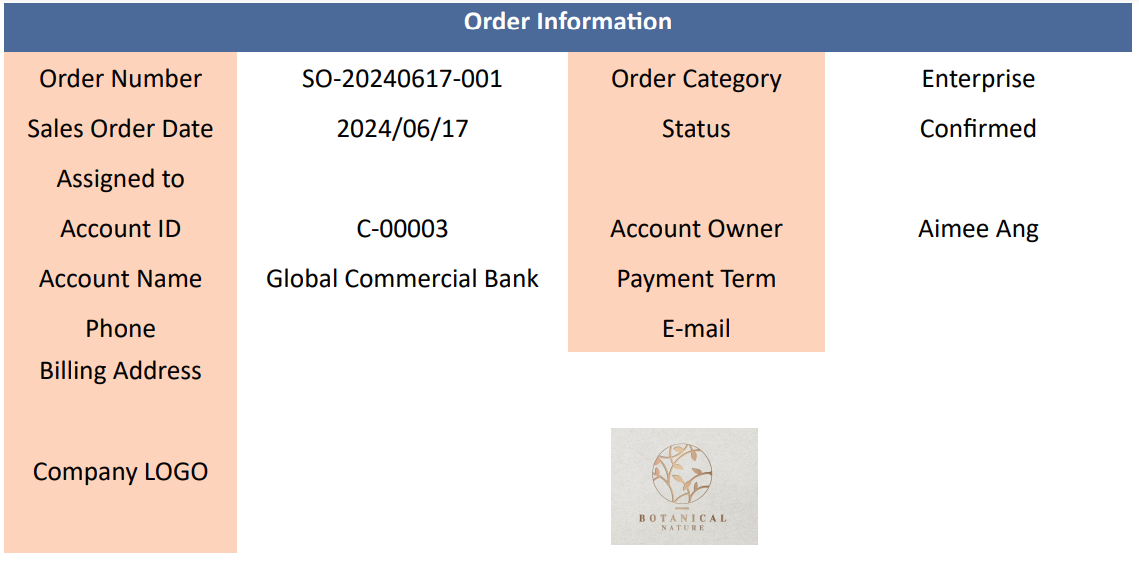
3. Paste the copied field image into your template. After uploading and saving it as a custom print report, the Image Upload field will display correctly.
Method 2: Manually Adding Field Parameters
1. Open your custom template. At the location where you want to insert an Image Upload field, upload any image from your computer.
2. Right-click on the image you just inserted and select "View Alt Text".
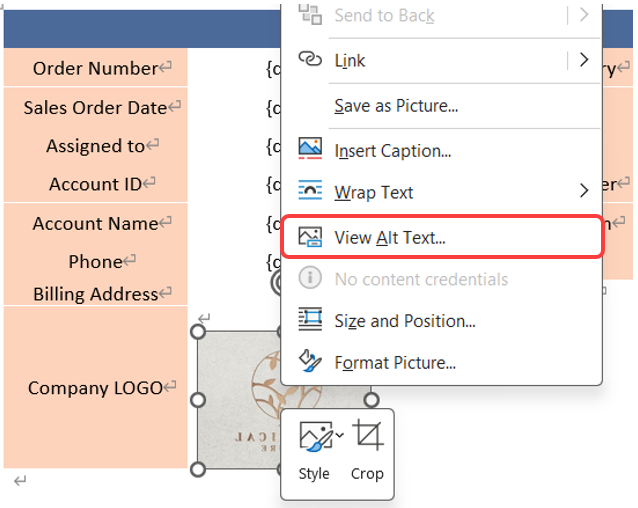
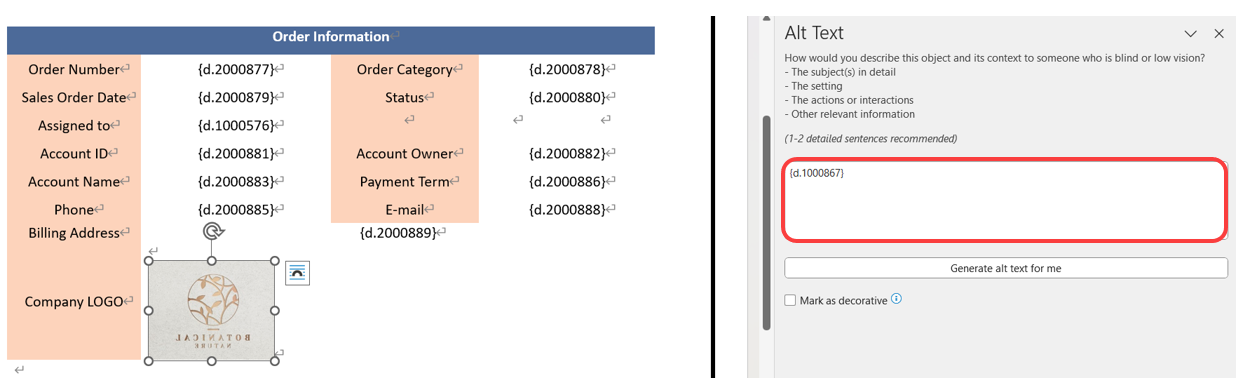
3. In the "Alt Text" description field, enter the field syntax(refer to the Field Value Syntax Reference) for the Image Upload field from the sheet in the format {d.field id}.
2. Multiple-Select Image Upload
After downloading the default template, you need to manually adjust the template's field syntax. Add IMG:html after the syntax for the Image Upload field to ensure the images in the field output correctly.
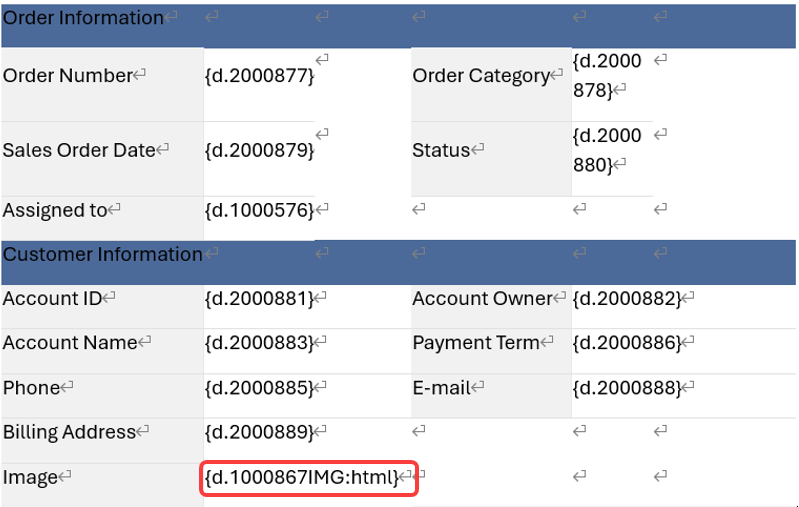
Note: If "Max Height" and "Max Width" are not specified, the default image output is "300px" for both dimensions. If specified, the image will be displayed according to the defined settings.
If the Signature fields or Barcode fields do not output correctly, you can download the default template again. If re-downloading the default template is inconvenient due to using a custom-designed template, refer to the method for adjusting templates for Image Upload fields.
When using alt+enter to add line breaks in a Free Text field, you need to manually adjust the field syntax in the template by adding :convCRLF after the field syntax. This ensures that the field content is correctly displayed with line breaks in the downloaded file.


